The One System

Training Guide
Step 7a: Top-Up Devices
Setting up a top-up device for a client
1. Assigning and Managing Devices for a Specific Client
To allocate a top-up card to a client, navigate to the Run a Client Session section of the ONE app. Ensure the specific client is selected. At the top of the page, use the menu to choose the current action—click on the Top-Up Schedule tab.

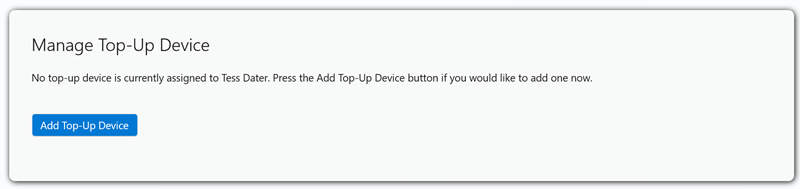
When you enter the Top-Up page for a new client, you’ll see a message indicating that no device has yet been assigned. Click the Add Top-Up Device button to begin.
This section will expand to show instructions for scanning a top-up device. The scanner on your ONE unit will activate automatically.
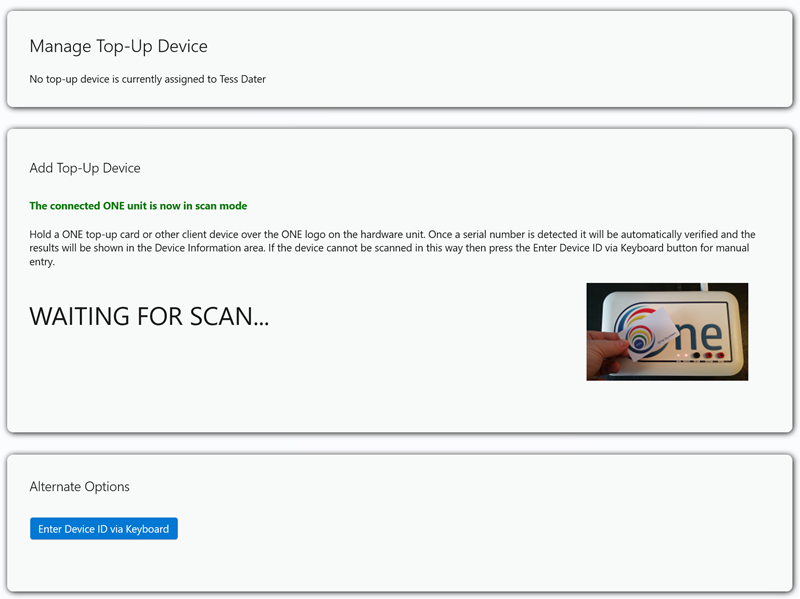
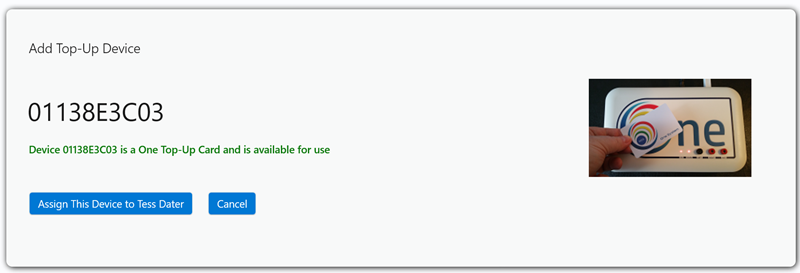
Hold the top-up device over the ONE logo on the front of the hardware unit. The scanner should read the device, and the ten-digit number will appear in place of the “WAITING FOR SCAN” text.
Note: If the device isn’t immediately available—or if the scanner isn’t functioning—you can click Enter Device ID via Keyboard. This opens a simple input box where you can manually enter the ten-digit code. Each top-up device, as delivered by WDS, comes in a plastic wallet with a sticky label showing this code.
Once you press Assign This Device to Client Name, the device is linked to the client. The screen will update to show a display grid with the device entry. Above this, an edit box allows you to define which programme will be scheduled and its duration..
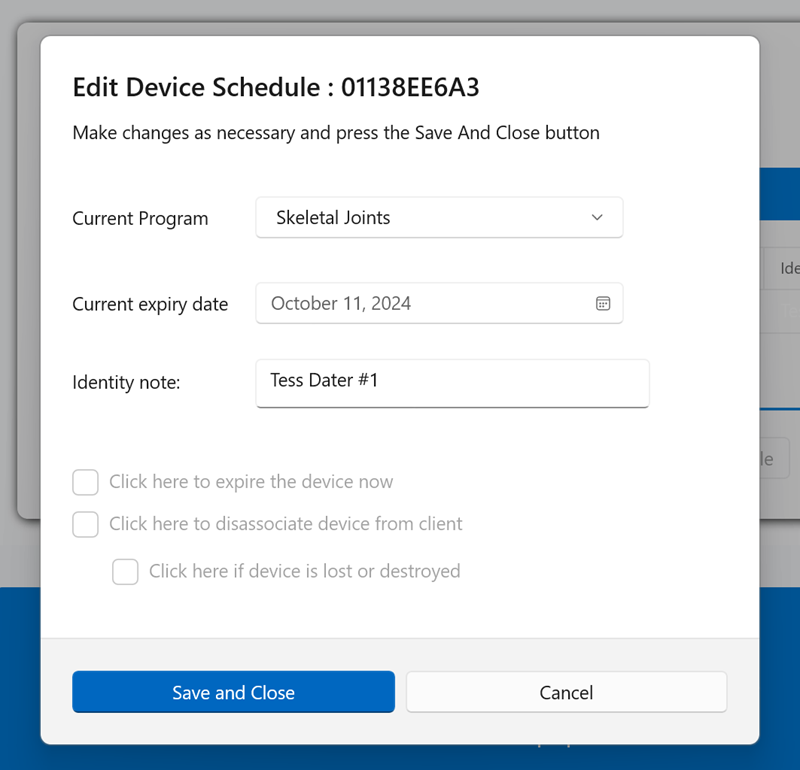
Use the edit box to select the programme from the dropdown list and set the end date for daily transmissions.
There’s also an Identity Note field, which defaults to the client’s name and a sequence number (e.g. #1, #2, #3). This is especially useful for shared clinic cards or devices not linked to a specific client.
Once you’ve updated the form, click Save and Close. The data will be written to the database, and the info grid will refresh after a few seconds.
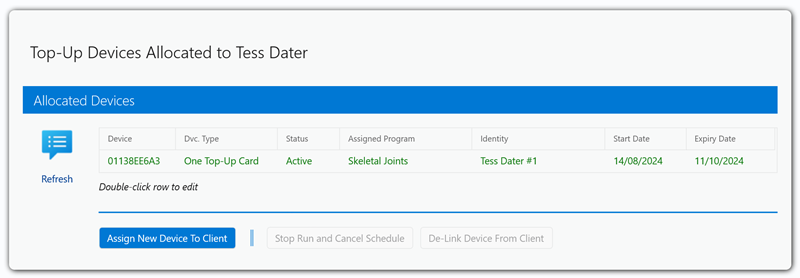
The grid shows the newly added device and will expand as more are assigned. Click a row to enable additional buttons, or double-click to reopen the edit box—useful for cancelling, extending, or changing the programme.
Inactive devices (expired or cancelled) are visually de-emphasised but still editable. You can restart a transmission schedule at any time.
Devices Run on a 24-Hour Basis
Top-up devices operate on a 24-hour cycle. If you create a schedule at 16:40, it will end at 16:40 on the final day. Cancelling a schedule at 10:10 means it will still run until 16:40 that day. Cancelling at 22:19 will stop the next day at 16:40.
When the Client is Finished
Once a client completes their programme cycle, you can reclaim the top-up device. Use De-Link Device From Client to reset the card. We recommend wiping it with alcohol and returning it to your usable stock. If the card is damaged or lost, you can delete it permanently from the database.